How To Prevent Carpet Mould? Identification, Prevention, and Removal After Water Damage
If left unchecked, carpet mould is a big problem that can cause health issues and carpet damage. Because wet environments favour mould, carpets may be a perfect breeding ground for mould spores under the right circumstances. A proactive strategy that includes both preventative techniques and deep cleaning is needed to prevent and manage carpet mould effectively. We will look at practical advice in this blog on how to prevent carpet mould to maintain a healthy indoor environment.
What is Carpet Mould?
Understanding carpet mould and its growth is important before reading preventative methods. A form of fungus called mould grows best in moist, humid environments. When exposed to moisture, carpet fibres; which are frequently comprised of organic materials like wool or cotton—can serve as a food supply for mould. Mould spores are found in the air naturally. And, when they come into touch with a damp surface, they may swiftly develop and spread. This may result in noticeable mould spots and that unique musty smell.
Signs: What Causes Mold on the Carpet?
Mold can be a serious issue when it develops in carpets, as it can lead to health problems and damage the carpet itself. To stop the mould from spreading, act right once if you spot any of these symptoms.
- Musty Odor: One of the most common signs of mould in carpets is a musty or earthy odour. If your carpet smells damp and unpleasant even after cleaning, it could be an indication of mould growth.
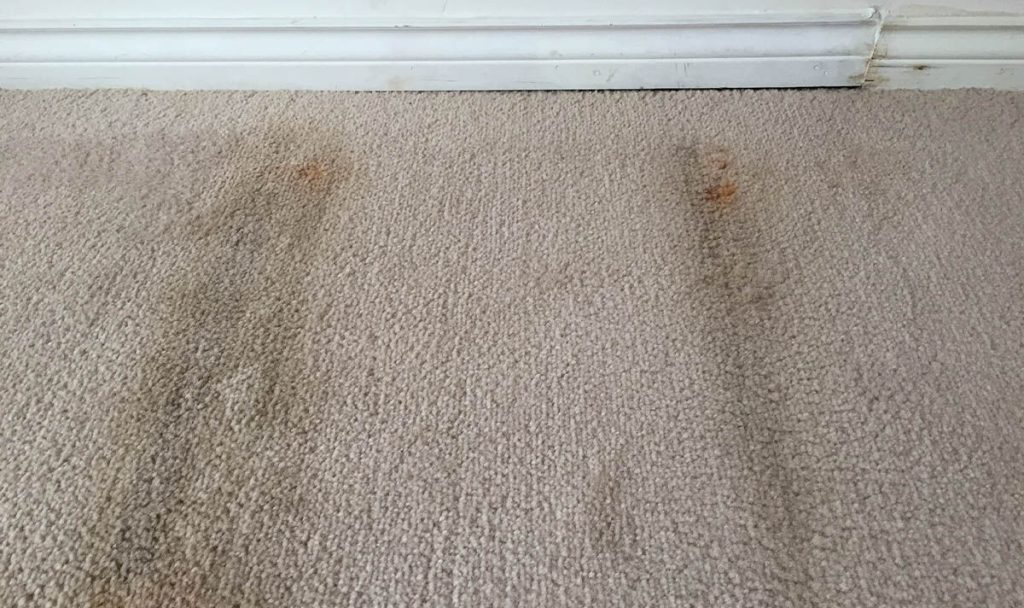
- Visible Discoloration: Mould can often cause visible discolouration on carpets. Look for dark or black spots, green patches, or any unusual colouration on the carpet fibres. This is especially common in areas that are frequently exposed to moisture.
- Allergic Reactions: If you or your family members start experiencing allergic reactions such as sneezing, coughing, runny nose, or skin irritation when spending time in a particular room with a carpet, mould could be the culprit.
- Respiratory Issues: Prolonged exposure to mould spores in the air can lead to respiratory problems, especially for those with preexisting conditions like asthma or allergies. If you notice an increase in breathing difficulties when you’re indoors, mould could be a possible cause.
- Dampness or Water Damage: If your carpet has been exposed to water due to flooding, leaks, or spills and hasn’t been properly dried within 24-48 hours, there’s a higher risk of mould growth. Even if you can’t see visible signs of mould, the dampness can create an environment conducive to mould development.
- Texture Changes: Mould can affect the texture of the carpet fibres. If you notice that certain areas of the carpet feel slimy, rough, or different from the rest of the carpet, this could be an indication of mould growth.
If you suspect mould in your carpets, it’s important to address the issue promptly. Mould can spread quickly and pose health risks. You may consider consulting with a professional mould remediation specialist to assess the situation and determine the best course of action for removal and prevention.
DIY Remediation vs. Professional Assistance
You can try DIY carpet mould removal, and remove mould spots by using a solution of water and vinegar or a mild detergent. However, we recommend using expert mould remediation services if the mould infestation is severe or keeps happening. Professionals have the equipment and knowledge necessary to ensure complete mould removal and prevention.
How To Prevent Carpet Mould?
- Humidity Control: Maintaining indoor humidity levels is very helpful in maintaining a carpet appearance. The optimal range for relative humidity is between 30% and 50%. In places where there is a lot of moisture, such as bathrooms or basements, use dehumidifiers. When the weather allows, opening windows and utilising exhaust fans to ventilate properly help in decreasing the buildup of humidity.
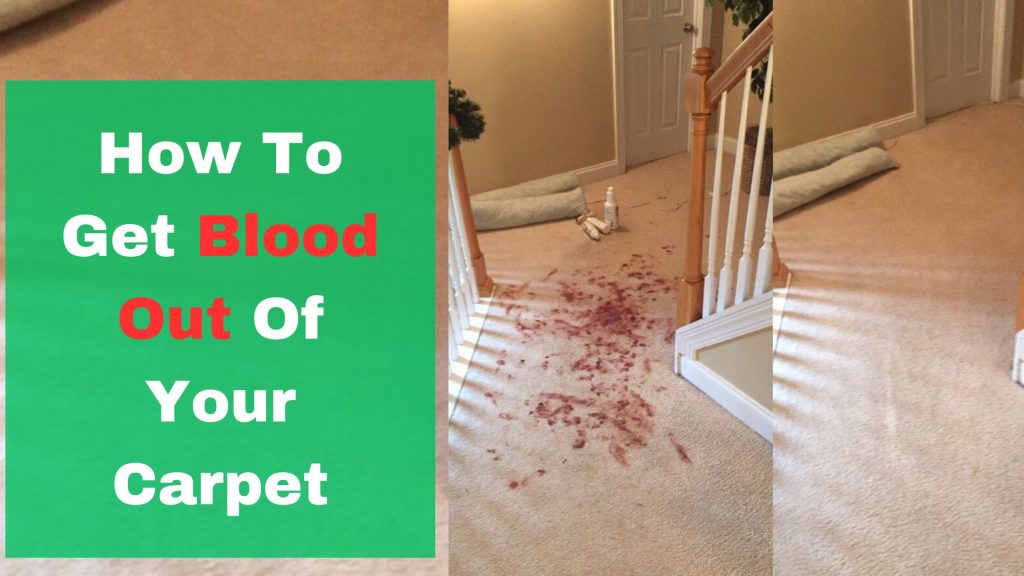
- Prompt Spill Cleanup: If spills on carpets are not cleaned up right away, mould may form swiftly. Wipe towels or paper towels should be used to quickly wipe up spills. To remove as much moisture as you can, blot the area. Next, thoroughly dry the area after cleaning it with a mix of water and a light detergent.
- Regular Vacuuming: Regular carpet vacuuming helps avoid the accumulation of dust and filth, which may serve as a breeding ground for mould. To efficiently collect dust and allergens, use a vacuum cleaner with a HEPA filter. To make sure all carpet areas are sufficiently clean, routinely vacuum high-traffic areas and corners.
- Proper Air Circulation: Good airflow is essential for avoiding moisture buildup. Make sure the air in your living rooms can flow freely. Avoid laying heavy objects directly on the carpet for lengthy periods. And, arrange your furniture so that carpets are not deprived of fresh air.
- Use of Moisture Barriers: To stop moisture from penetrating the fibres of the carpet, use moisture barriers. Try plastic sheeting or vapour barriers, and position them between the padding and the carpet. These barriers are especially helpful in wet environments like basements.
How To Stop Growing Carpet Moulds?
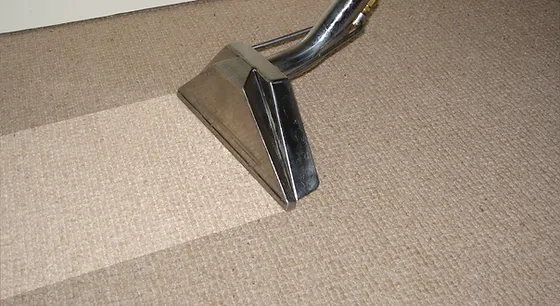
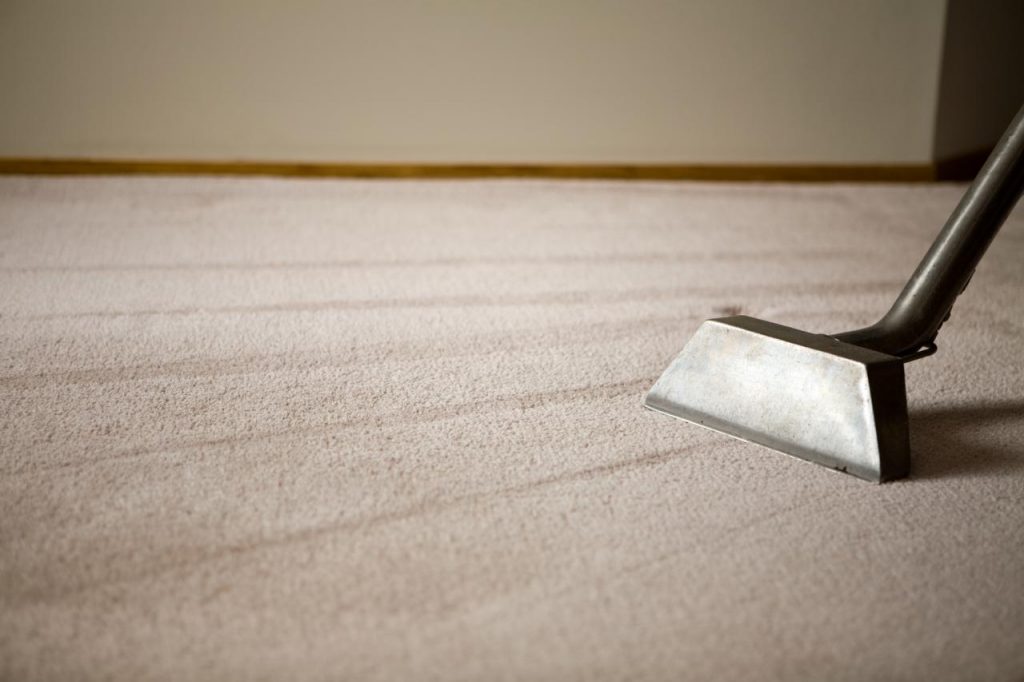
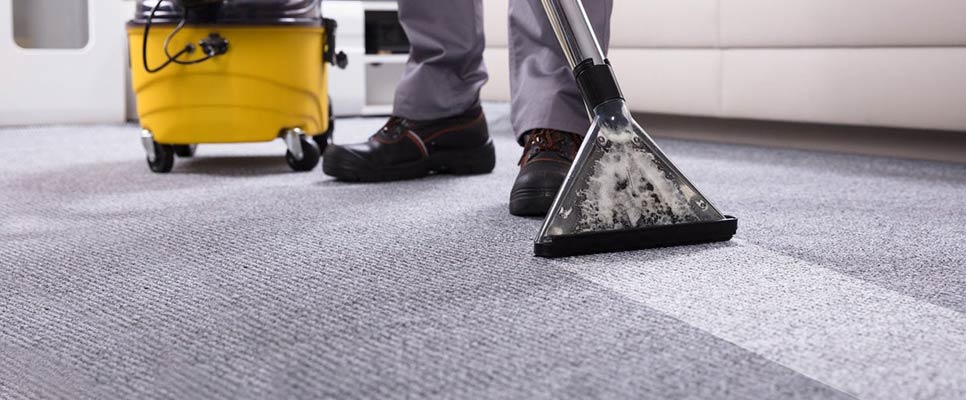
- Professional cleaning: Carpet cleaning by professional carpet cleaners may significantly lower the danger of mould development. To get rid of moisture and embedded filth from carpets, experts utilise specialised tools and cleansers. Plan to clean your carpets professionally at least once a year, or more frequently if you see a lot of foot activity and signs of mould.
- Drying Wet Carpets: To avoid mould, it is important to dry wet carpets as soon as possible after accidental spills or water leaks. For drying, use fans, dehumidifiers, and open windows. Walking on damp carpets should be avoided as much as possible while they are drying.
- Checking for Leaks and Repairing Them: Check windows, roofs, and plumbing fixtures for leaks. Even little leaks have the potential to accumulate a lot of moisture over time. Fix any leaks right away to stop water from getting into the carpets and growing mould.
- Check Furniture and Area Rugs: Every so often, elevate large pieces of furniture and area rugs. This will make room for the carpet beneath and enable it to dry and breathe. Under these things, moisture may accumulate and provide the perfect conditions for mould development. So, lift the furniture and allow it to dry or ventilate.
Conclusion: How To Prevent Carpet Mould
Preventative measures along with routine maintenance you may need, to protect against carpet mould. You may dramatically lower the likelihood of mould formation by regulating humidity levels; swiftly cleaning up spills; vacuuming often; maintaining enough air circulation, and utilising moisture barriers.
Additionally, maintaining a healthy indoor environment and extending the life of your carpets will be made possible by scheduling routine professional carpet cleaning; responding quickly to leaks, and being attentive to symptoms of mould.
Keep in mind that prevention is the key to ensuring that your carpets stay mould-free and that your living areas remain cosy and secure. We hope this blog on How To Prevent Carpet Mould will help you in many ways.